
Photography Masterclass
How to Light Food for the Food and Drink Photography
Lighting plays a crucial role in food photography. Whether you’re shooting for a recipe step-by-step, a restaurant menu, or a product shoot, getting the lighting right can make all the difference between an average photo, and a good one and one that’s exceptional and has the ‘wow’ factor. In this blog we’ll explore how to use different lighting setups to elevate your food photography, and how to make adjustments based on your space and environment.

1. The Size of the Light Source
The size of the light source directly impacts the shadows and the overall feel of your food photos. Understanding this concept is key to mastering food photography lighting.
Small Light Sources
Small light sources tend to create very directional lighting, meaning they illuminate some areas of your subject brightly while leaving other areas dark and underexposed. This high-contrast look is often dramatic but doesn’t typically work well for food photography, as it can make your subject look too harsh.
Examples of small light sources include:
- A candle
- A bare light bulb
- Direct sunlight
Although striking in certain situations, small light sources generally don’t suit the soft, evenly lit look that’s most appealing for food photography.

Medium Light Sources
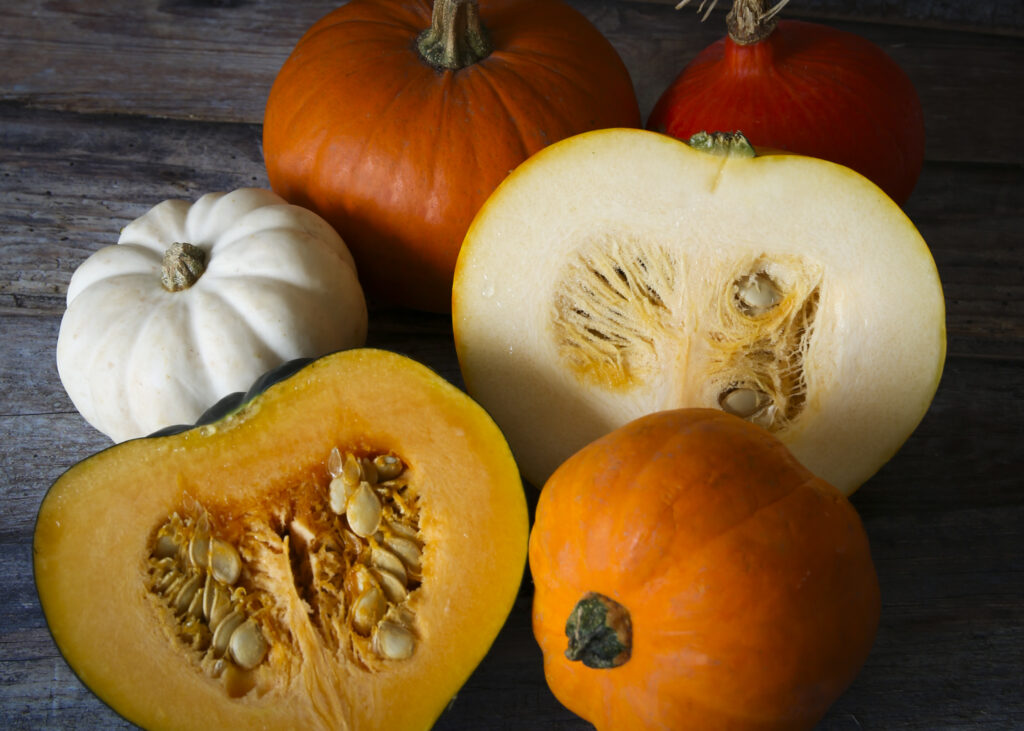
Medium-sized light sources are ideal for food photography. They produce diffused, even light that wraps gently around your subject. This helps to reveal details in the shadows without overexposing the lit areas.
Examples of medium light sources include:
- A partially sunny day
- North-facing natural light (especially in the morning or late afternoon)
- A photo umbrella
- Medium-sized softboxes
This type of lighting is often considered the sweet spot for food photography. It provides just enough light to showcase textures and details without creating harsh contrasts.
Large Light Sources
Large light sources provide the softest, most diffused lighting, but they can sometimes result in a flat or lifeless look. This is because large sources minimise the contrast between lit and shadowed areas.
Examples of large light sources are:
- Overcast skies
- Fluorescent lighting
- Large diffusers placed close to the subject (such as white panels or large softboxes)
While large light sources can be used for food photography, you need to be cautious, as they can reduce the texture and depth of the food, making it look less appetising.
2. Choosing the Correct Lighting for Your Food Photography
When setting up your food shoot, whether you’re in a studio, or shooting on location, the positioning of your light source is key.
Natural Light and Window Positioning
If you’re shooting indoors, windows are often the best natural light source. However, the direction your window faces is crucial in how the light will interact with your subject. You want to avoid harsh, direct sunlight, which can create too many sharp shadows and overexposed areas.
For the best results, look for a north-facing window on a partially sunny day, with some cloud cover to diffuse the light. This gives you a soft, even light that enhances the natural textures and colours of the food.
Be aware that light changes throughout the day, so if you’re planning a long shoot, be mindful of how the light will shift, especially if you’re relying on natural light, consistency is key.

Artificial Lighting Alternatives
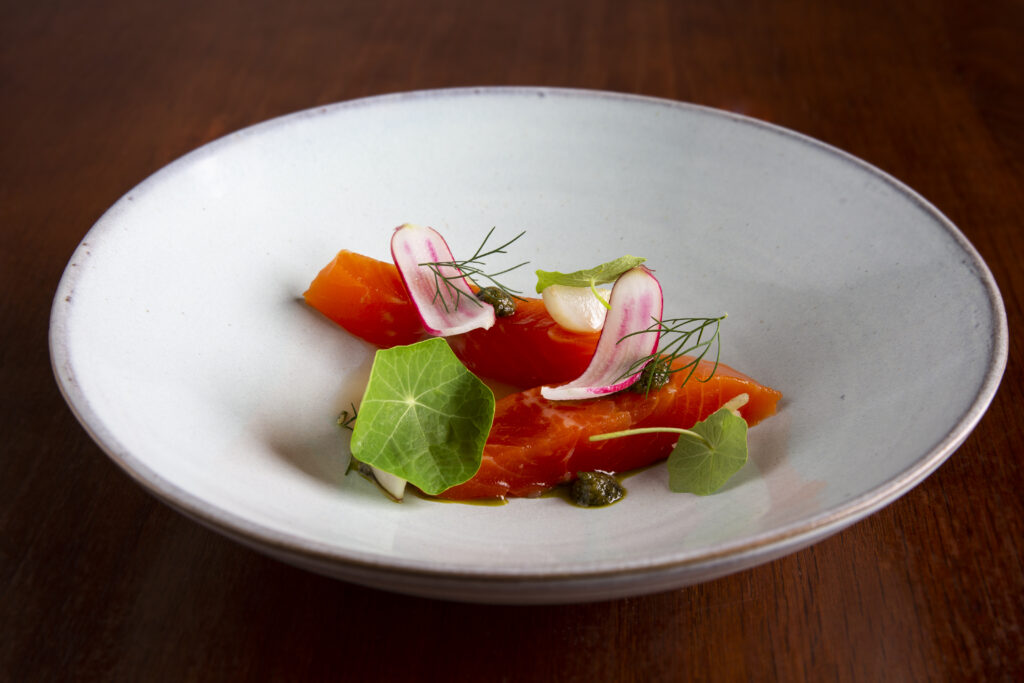
What if the ideal natural light conditions don’t align with your food shoot? Flash or continuous lighting can be a great alternative. In this case, a medium source softbox placed to one side (at a 45-degree angle) can replicate the soft, diffused light you’re looking for. Pair this with a white reflector to bounce light back into the shadows, creating a balanced and flattering effect. Moving away from the window set-up can also help you avoid mixed lighting (natural light combined with artificial light), which can lead to unflattering colour tones and inconsistencies.

3. Setting Up for a Great Food Photo
Here’s a simple setup that works well for a variety of food photography situations:
- Position the Softbox: Place a medium-sized softbox to one side of your subject (at around a 45-degree angle). This will create beautiful, soft shadows while still providing ample light.
- Use a Reflector: Position a white diffuser or reflector opposite the softbox to bounce light back into the shadow areas. This helps to fill in the shadows and keeps the image from looking too flat.
- Test and Adjust: If you’re shooting for an extended period, check your lighting regularly. Adjust the angle of your softbox or reflector as needed, especially if you’re shooting different types of dishes with varying textures.
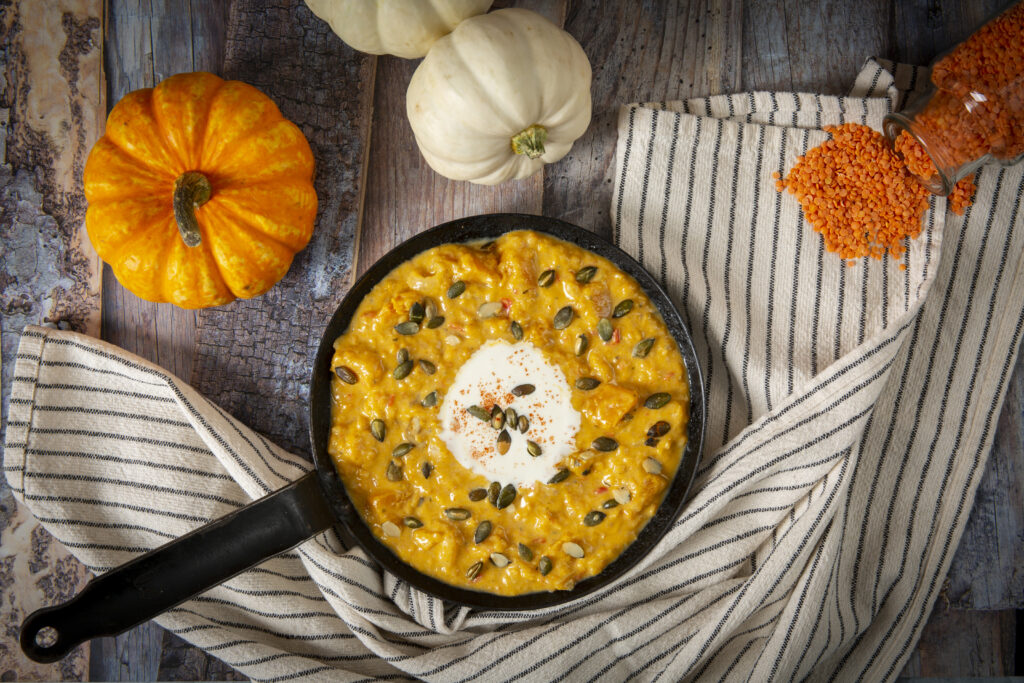
This setup is straightforward and effective for shooting a wide range of dishes, from appetisers to desserts and drinks.
4. Conclusion: Experiment and Adapt
Lighting is one of the most important elements of food photography, but it’s also an area where experimentation and creativity can make a huge difference. Whether you’re using natural light, studio lighting, or a combination of both, the key is to understand how different light sources affect the mood and texture of your food.
The ideal lighting scenario may not always present itself, but with a little planning and flexibility, you can create beautiful food images that capture the essence of your dishes. So, experiment with different light setups, angles, and diffusions to see what works best for your style and subject.
Next Masterclass – Sign up here.
Written by Adrian Franklin
BA (Hons) Photography and Film